
How to Fix A Leak In Your Motorcycle's Gas Tank
Posted by Damian Ercole on 4th Jun 2019
How to Fix A Leak In Your Motorcycle's Gas Tank
I'll start this blog post off by saying that if you have any immediate or emergency issues with your gas tank feel free to reach out to us directly by visiting the Contact Us page. We're open 9-5pm EST M-F and are happy to assist with gas tank issues. Please also check out our gas tanks section on the site if you're looking to purchase a new one.
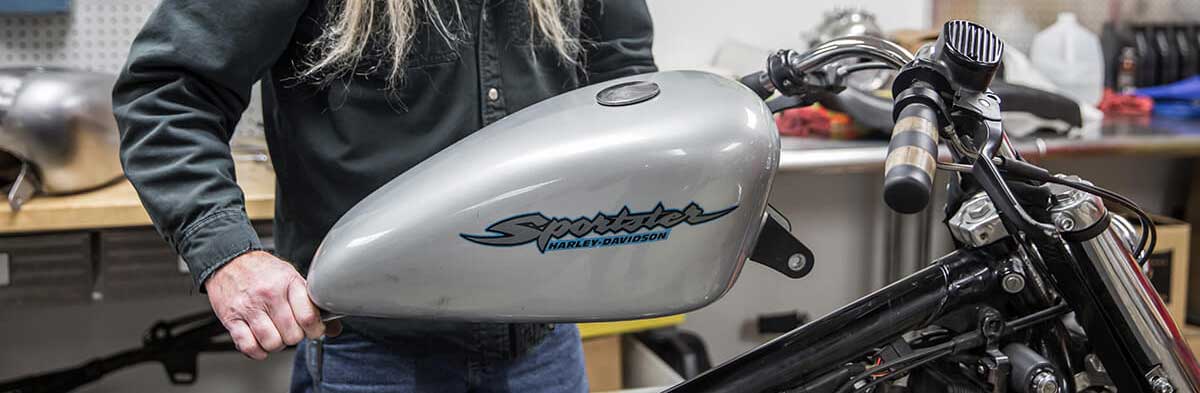
The gas tank on a motorcycle is made up of relatively thin pieces of steel or aluminum that can be dented, punctured, and rusted with ease. Even imperfections in the manufacturing process or how the tank was designed can cause problems for you and leaks are one of these problems. That’s what this article will focus on. Mechanics require money but with a few simple tricks we’re fully confident that you can take care of any leaks that may arise in the gas tank of your motorcycle.
#1 - Drain the Gas Tank
The first rule of thumb to a safe repair is to fully drain the gas tank. That means every last single drop of fuel and vapor needs to come out. If not, this will create a serious fire hazard during repairs. You don't want to set your hair ablaze or send yourself across the room when you go to weld a gas tank with fuel in it.
Drain the gas tank into a safe-disposal fuel container and be sure to clean up any excess gas that may spill over. It's always good to cover a spill with something that will absorb the gas such as kitty litter. Seriously, it works. The trick is to generously spread the odor-absorbing cat litter over the still wet pool of gasoline. Quickness is key.
Once the gas tank is bone dry remove the fuel line by squeezing the retaining clamp with a small pair of pliers. Sometimes these clamps can be in tricky places so we recommend needle-nose pliers. Once you depress the clamp carefully pull the fuel line off the nipple of the gas tank. Take your time and ease the fuel line off. Yanking on it may cause leftover fuel to spill or spray. Plus, you don't want to ruin a fuel line that you have to reuse.
#2 - Remove the Gas Tank
Motorcycle gas tanks have a huge amount of variety and styles. They can be made using vastly different shapes and engineering features from one bike to another. However, most of the gas tanks we see on the road today behave in the same way. That means there are certain parts and components which are usually included on every gas tank.
Manuals are always our first option for a resource but oftentimes there is an aftermarket gas tank on a bike which doesn't fit factory specs. If this is the case, Youtube is a great resource because there's a good chance these that someone made a video about it. Even if you have done this project before with a previous bike it's usually good to know exactly how to work on each specific motorcycle's gas tank.
A simple adjustable wrench should be more than sufficient to remove the gas tank bolt. If you are in need of a good set of tools to have around the shop we have a great selection here on our site. Take a good glance underneath your gas tank for the mounting bolt. It's usually located in the bottom center portion around the front of the seat. Access to this is tricky on some bikes and you may need to remove the seat in order to access it. It's best to refer to your motorcycle owner's manual if you're feeling unsure.
#3 - Prepare the Inside of the Gas Tank for Repair
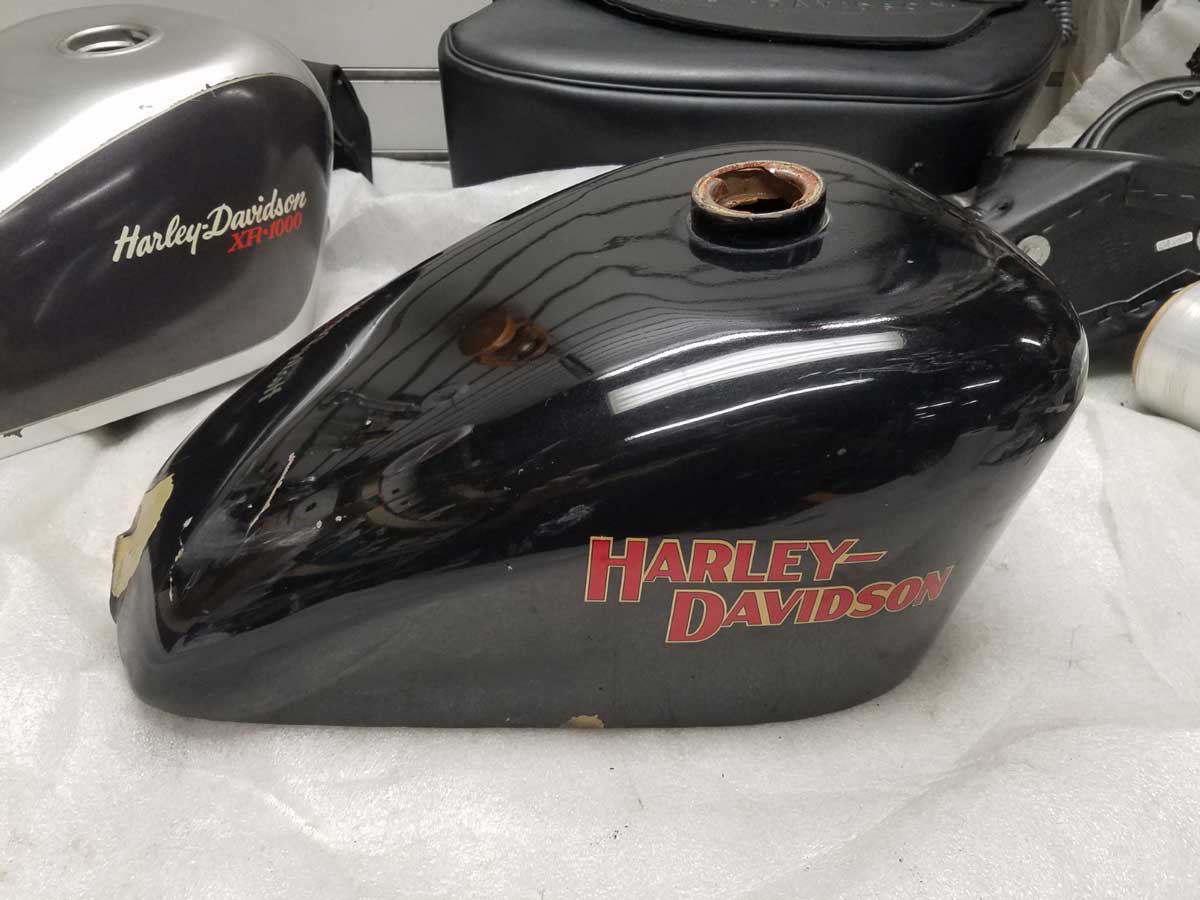
First, take the gas cap off of the gas tank to allow the the flammable fumes to air out. This goes back to step one with ensuring that the gas has been completely and fully removed from the tank. Rust can be a big issue on the inside of the gas tank of older bikes or bikes that aren’t maintained properly. A good quality flashlight should help you take a peak inside. Take your time and assess what's going on inside of that gas tank. Does the rust require some sort of mechanical removal before using chemicals? Can you see more visible cracks or blemishes now that the tank is completely off of the bike? Put on your best Sherlock Holmes cap for this part of the process.
In order to remove surface rust pour 1-2 quarts of acetone along with some ball bearings, nuts, bolts, etc. Acetone is a common ingredient in most nail polish removers. You can purchase pure acetone at home improvement centers such as Lowe's or Home Depot. Make sure the fill hole is sealed with plastic wrap and a rubber band so nothing will leak out.
Shake and rotate the tank to ensure that the ball bearings etc. make contact with each part of the tank’s inner surface. This knocks the rust away and creates small scratches for the epoxy to cling to. It really varies to the length of time that you need to do this. Some jobs are simply tougher than others. Now drain the gas tank and let it dry as previously done.
#4 - Seal Up Your Gas Tank
You’re going to need to mix a gas tank epoxy according to the directions of whichever one you purchased. There are a ton of options out there but brands like Caswell and KBS Coatings are always a surefire purchase. Once you have the epoxy solution mixed you can pour it into the gas tank. Place a piece of cling wrap over the fill hole, ensure that it's secured, and begin sloshing the epoxy around. Allow to cure for at least 24 hours before putting the gas tank back on the bike and filling it with gas.
If you’re still experiencing leaking issues then it may be time to break out the welder or take it to a pro! You can check out our full selection of Gas Tanks and Gas Tank Accessories by clicking here.